BrightonSEO
Thank you for attending my presentation. Below is a copy of the presentation and some in-depth notes, codes and links to all the resources mentioned.
– Connect with me on Linkedin, Instagram
– View my Digital Marketing Agency here: REMDigital
Links to Resources
MariaDB: https://mariadb.org/
Redis: https://redis.io/
Memcached: https://memcached.org/
Query Monitor: https://querymonitor.com/
UptimeRobot: https://uptimerobot.com/
PageSpeed Insights: https://developers.google.com/speed/pagespeed/insights/
GTmetrix: https://gtmetrix.com/
Pingdom : https://www.pingdom.com/
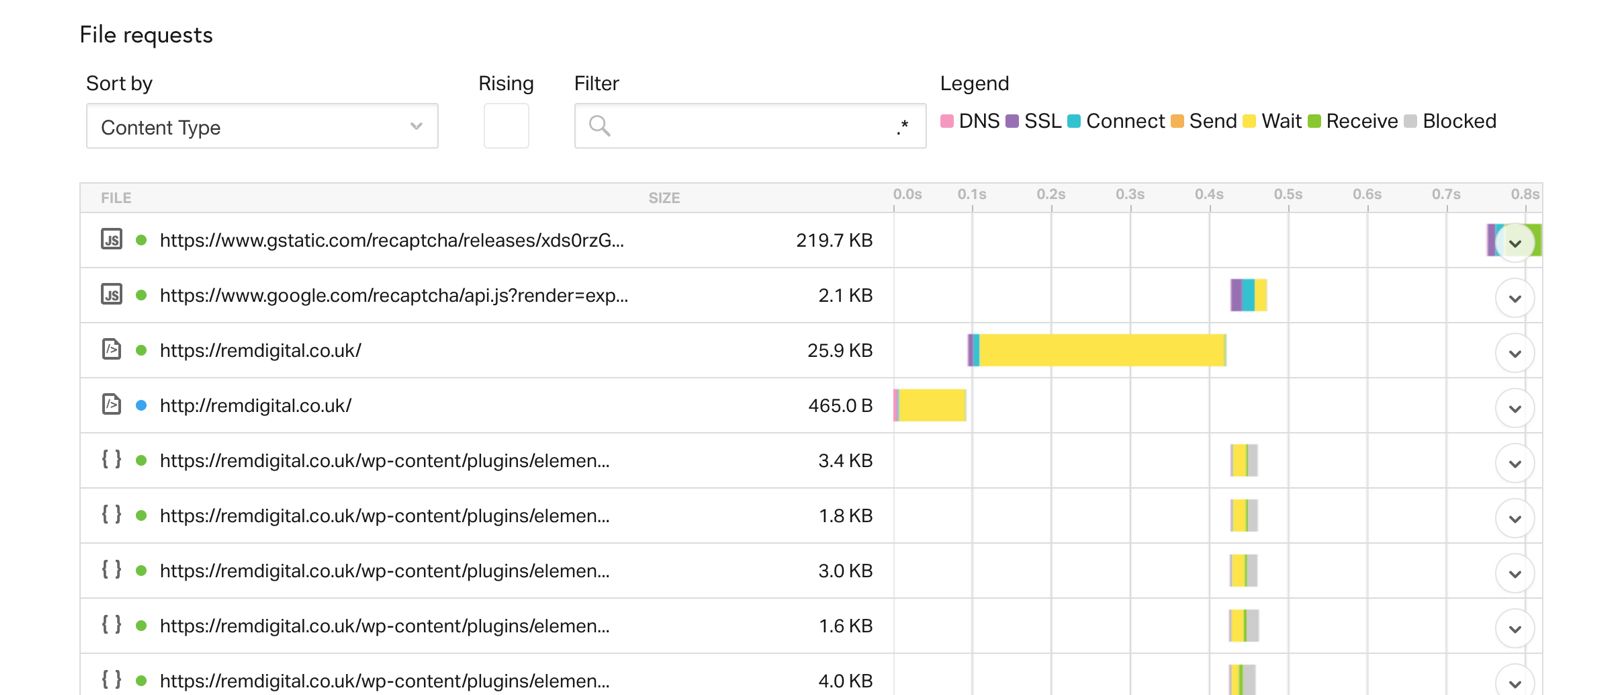
WP Rocket: https://wp-rocket.me/
NitroPack: https://nitropack.io/
Jetpack: https://jetpack.com/
Cloudflare: https://www.cloudflare.com/
KeyCDN: https://www.keycdn.com/
Jetpack: https://jetpack.com/
Microsoft Clarity: https://clarity.microsoft.com/
Hotjar: https://www.hotjar.com/
Sucuri: https://sucuri.net/
Wordfence: https://www.wordfence.com/
SolidWP: https://solidwp.com/
Yoast: https://yoast.com/
Rank Math: https://rankmath.com/
Trustpilot: https://www.trustpilot.com/
Elfsight: https://elfsight.com/
FME Addons: https://www.fmeaddons.com/
HighAddons: https://highaddons.com/
Content For Ecommerce: https://alsoasked.com/ and https://alsoasked.com/
How to Enable GZIP
Enabling Gzip compression for your SQL database responses would typically be done at the web server level, Apache or Nginx, rather than directly in the SQL database (such as MySQL, PostgreSQL, etc.). Here’s how you can enable Gzip for Apache and Nginx:
For Apache:
Enable
mod_deflate: First, ensure thatmod_deflateis enabled on your Apache server. This module handles Gzip compression.Run this command to enable it (if you’re using a Debian-based system):
sudo a2enmod deflate
Configure Gzip Compression: You’ll need to add the following configuration to your Apache configuration file (e.g., apache2.conf, .htaccess, or your site-specific configuration file).
Add this in the appropriate section:
# Compress text, HTML, JavaScript, CSS, XML, etc.
AddOutputFilterByType DEFLATE text/html text/plain text/xml text/css
AddOutputFilterByType DEFLATE application/javascript application/x-javascript application/xml
AddOutputFilterByType DEFLATE application/xhtml+xml application/rss+xml application/atom_xml
AddOutputFilterByType DEFLATE image/svg+xml application/json
# Set headers for proxies
Header append Vary Accept-Encoding
Restart Apache: After making the changes, restart Apache to apply them:
sudo service apache2 restart
For Nginx:
Enable Gzip Compression: Add the following configuration to your Nginx configuration file (typically
/etc/nginx/nginx.confor your site’s configuration file).Inside the
httpblock, add the following:
gzip on;
gzip_types text/plain text/css application/json application/javascript text/xml application/xml application/xml+rss text/javascript;
gzip_vary on;
gzip_min_length 256;
gzip_proxied any;
gzip_comp_level 5;
Restart Nginx: After adding the configuration, restart Nginx to apply the changes:
sudo service nginx restart
With Gzip enabled, your SQL responses (or other server responses) sent through the web server will be compressed before being delivered to clients.
Let me know if you need any specific adjustments!
How to Enable Varnish
To enable Varnish Cache with Apache and NGINX, you’ll need to configure Varnish to work between your web server (Apache or NGINX) and your clients. Here’s a step-by-step guide for both:
1. Install Varnish
On Ubuntu/Debian-based systems, you can install Varnish using:
sudo apt update
sudo apt install varnish
For CentOS/RHEL-based systems:
sudo yum install varnish
2. Configure Varnish (default port 6081 to port 80)
By default, Varnish listens on port 6081. You need to configure it to listen on port 80 (default HTTP port):
Open the Varnish configuration file:
sudo nano /etc/varnish/default.vcl
Update the backend configuration to point to your web server (either Apache or NGINX), which will usually run on port 8080 or 8081:
backend default {
.host = "127.0.0.1";
.port = "8080"; # Change this to your web server port
}
3. Configure Apache or NGINX to Use a Different Port
Change the Apache or NGINX port to something other than 80, such as 8080:
For Apache:
Open the ports configuration file:
sudo nano /etc/apache2/ports.conf
Modify the line:
Listen 8080
Restart Apache:
sudo systemctl restart apache2
For NGINX:
Open the NGINX configuration file:
sudo nano /etc/nginx/sites-available/default
Change the listen directive to port 8080:
server {
listen 8080;
server_name your_domain_or_ip;
...
}
Restart NGINX:
sudo systemctl restart nginx
4. Configure Varnish to Listen on Port 80
Now, configure Varnish to listen on port 80:
Edit the Varnish systemd configuration file:
sudo nano /etc/systemd/system/multi-user.target.wants/varnish.service
ExecStart=/usr/sbin/varnishd -a :80 -T localhost:6082 -f /etc/varnish/default.vcl -S /etc/varnish/secret -s malloc,256m
Reload systemd and restart Varnish:
sudo systemctl daemon-reload
sudo systemctl restart varnish
5. Test Your Setup
You can now check if Varnish is working by running:
curl -I http://your_domain_or_ip
The response headers should include Via: 1.1 varnish.
That’s it! Varnish is now configured to cache requests and work with Apache or NGINX.
Categorized in:
Tagged in:
👨🏽💻 Development